|
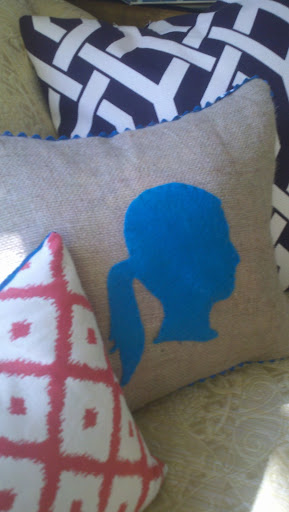
| As you can see, I have already thrown another pillow around. It's called Musical Pillows in my house! |
If I could afford, professionally sewn, european linen drapes, I would, but I can't, sooooooo...... true to form, not to be deterred by lack of funds for drapes (priorities people!).....I reworked some IKEA RITVA curtains.
 |
| Not the look I was going for... and just because they come with tie backs doesn't mean you have to use them! |
Who says out of the box curtains have to look like they are out of the box? Did you know how EASY making pinch pleats are and what an IMPACT they make in a room. I hear you already.... "I don't have a sewing machine", or "I can't sew!".....no excuses these are EASY, PEASY! These can be made with a needle and thread, although a sewing machine does make it easier:):)
Now you don't have to use IKEA, but any curtains that have the hidden rod pockets in the header will work.
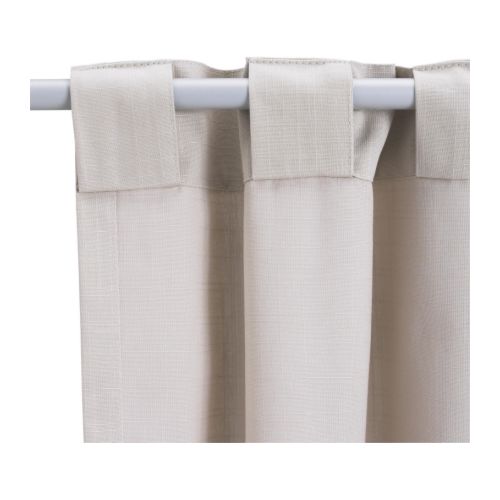
It gives the illusion of drapery tape, and the heft needed to make the pleats stay. Plus, if you are a lazy sewer, like I am....they are already measured out, all you have to do is pinch and sew.
Here are the steps.
 |
| Find the rod pocket part of the draper |
 |
| See they are spaced evenly apart. |
 |
| Pinch like this. |
 |
| Continue with all of the rod pockets until finished. |

Et, Voila!
 |
| Look so much better....and have such a a better drape. |

Greek Key trim,

or grograin ribbon,

or even a ruffle if you are feeling daring.
Or if you are feeling really daring....cut the bottoms and add some contrasting fabric to the bottom....you would only need a couple yards.
Seriously, just because it comes one way in the box doesn't mean it has to stay that way.
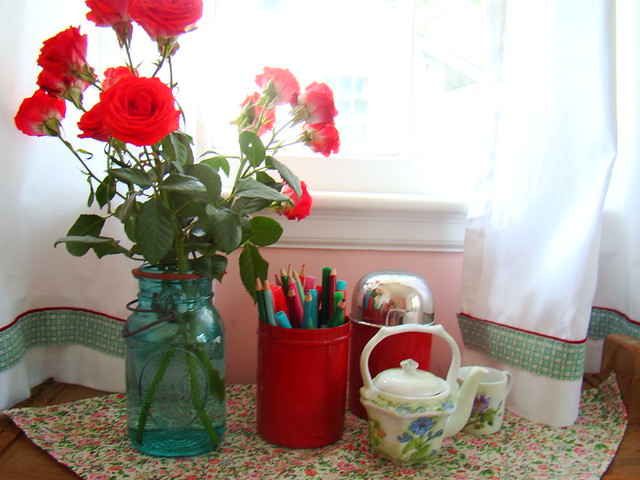 |
| These were cafe curtains out of the box at target....with vintage trim and leftover red fabric |
 |
| I added a red fabric and trim to the bottoms of these to make them different. |
Sew there you have it....out of the box curtains turned to nice drapes...all for $50, $100 less than an inexpensive drapery panel.
Happy Thursday.


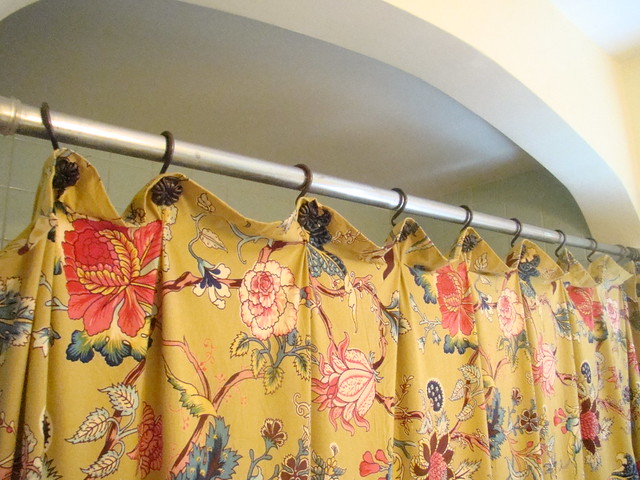
 his is one of the easiest sewing projects I have ever done. I would call myself a lazy sewer, I especially hate hems and finish detail. (in fact I have been known to be so excited about a project, I leave these minor details undone...please don't pull up the bottom of ANY of my curtains:) Anyway, I found this tablecloth at World Market (they were 30% off) and thought the teal in the fabric design went perfectly in my teal bathroom. Forgive me that i did not take pictures of this process. But it is really simple.


 t is so HOT here that going outside is miserable! I thought I would have a sew day...or couple hours yesterday. Since it is HOT, the children are inside, so my productivity level isn't exactly steller, but it made me happy, and it was just the punch of color my living room needed. As my daughter said. "Mommy does that pillow stand for Ophganorse":) Why, honey, yes it does!